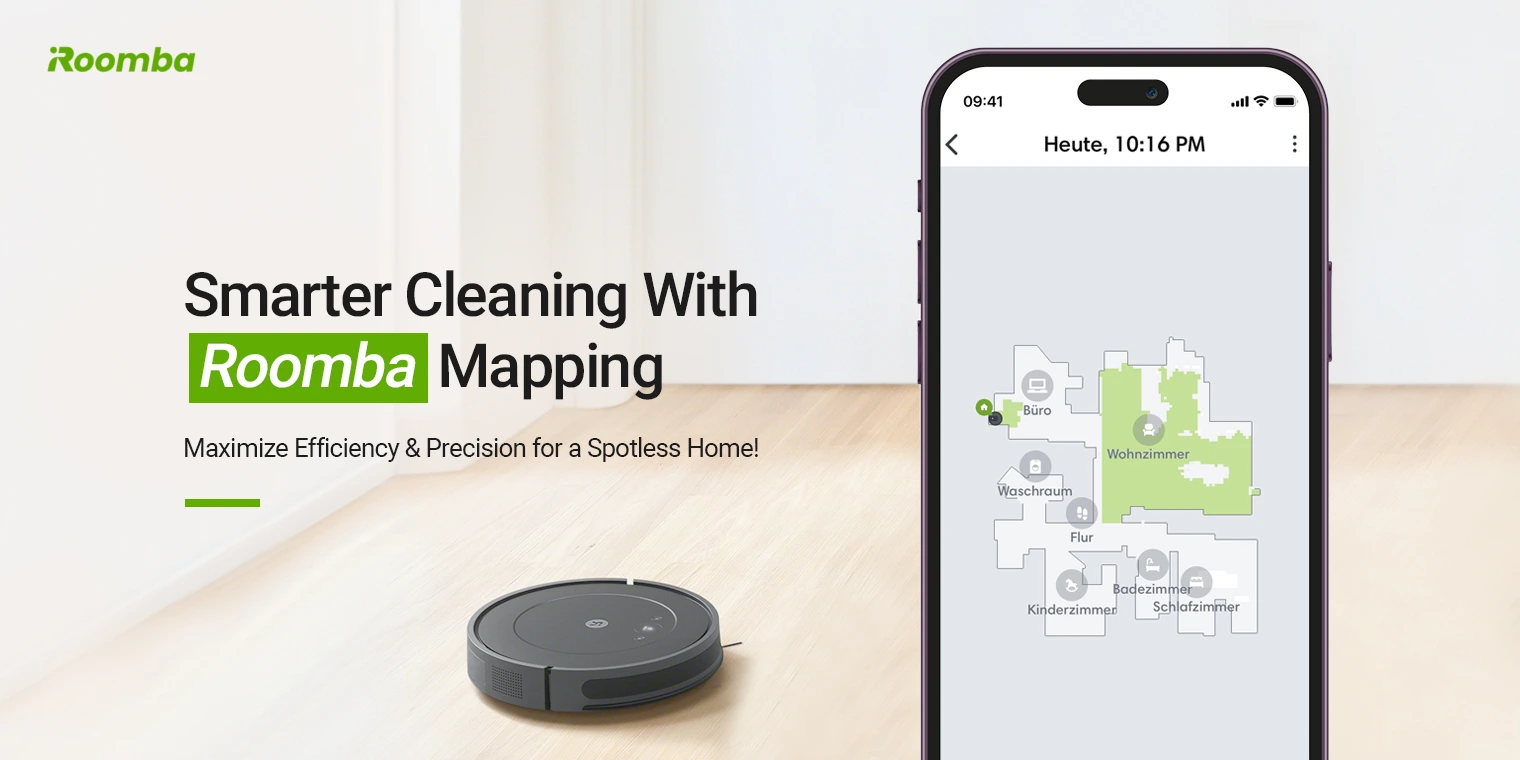
In this modern age, Roomba smart vacuums are one of the leading cleaning equipment. These robotic cleaners have smart mapping technology to sweep your house’s every corner. Similarly, Roomba mapping is an advanced feature to scan your home with the help of sensors. Additionally, these smart vacuums use the VSLAM technology to detect interferences and any particular landmark.
Further, if you own such a device, then it is necessary to learn how long does roomba mapping take to plan the projection. However, to get assistance with Roomba map setup and usage, you can consider this guide. Here, you find detailed information about the mapping feature in your Roomba vacuum. Hence, stay tuned to explore more!
What is Roomba mapping and how does it work?
Generally, Roomba vacuum maps are designed to navigate your whole house. This is a kind of digital print map of your floor. Additionally, the smart mapping will plan, create, and run the smart digital projection according to the guidelines.
Similarly, the built-in sensors of this smart cleaning machine will scan for the obstacles and landmarks inside your living place and store that data. In addition to this, the Roomba mapping software just explores the house completely and shows you the detailed cleaning path. Also, you can customize this planned map and Roomba then follow the map you customized and saved.
How does Roomba mapping work to clean your home efficiently?
Moreover, you here understand what smart mapping is and how it works. Now move forward, we highlight the working of the Roomba smart map and also let you know how to enable this feature. So, walk through this section carefully:
Activating smart mapping
- Initially, confirm that your Roomba vacuum is charged to the fullest.
- After that, ensure you run an updated version of the iRobot Home app on your smartphone.
- Next, launch the app and access the admin account using accurate details.
- Now, search for the map icon on the app dashboard and click on it.
- Tap on the”+” icon and then Create a new smart map.
- Finally, your smart cleaner is ready to map your home.
Run the mapping
- After enabling the map feature, look for the Start Mapping Run/Start Now.
- Now, click on the Start Mapping Run/Start Now option and the vacuum will leave the dock station.
- Hereon, Roomba will start its job and proceed with mapping.
- You need to wait patiently as this procedure takes time.
- When Roomba is done with mapping, you get a notification on the application.
- This is the basic map that a vacuum creates in its first run.
- So, remember to send Roomba 5 times for the mapping of your home to get an accurate map plan.
- Similarly, you can customize the projections created by Roomba by adding or keeping out cleaning zone options.
- At last, Roomba is ready to clean the spots according to the finalized map.
Wrapping up
All things considered, this brief guide provides you with deep insights on Roomba mapping. Here, you explore what is smart mapping and how it works. Similarly, from enabling the mapping function to its detailed working, everything is discussed in this post. If you still have difficulties accessing and using such a feature on your vacuum, let’s talk in the chat box!
